
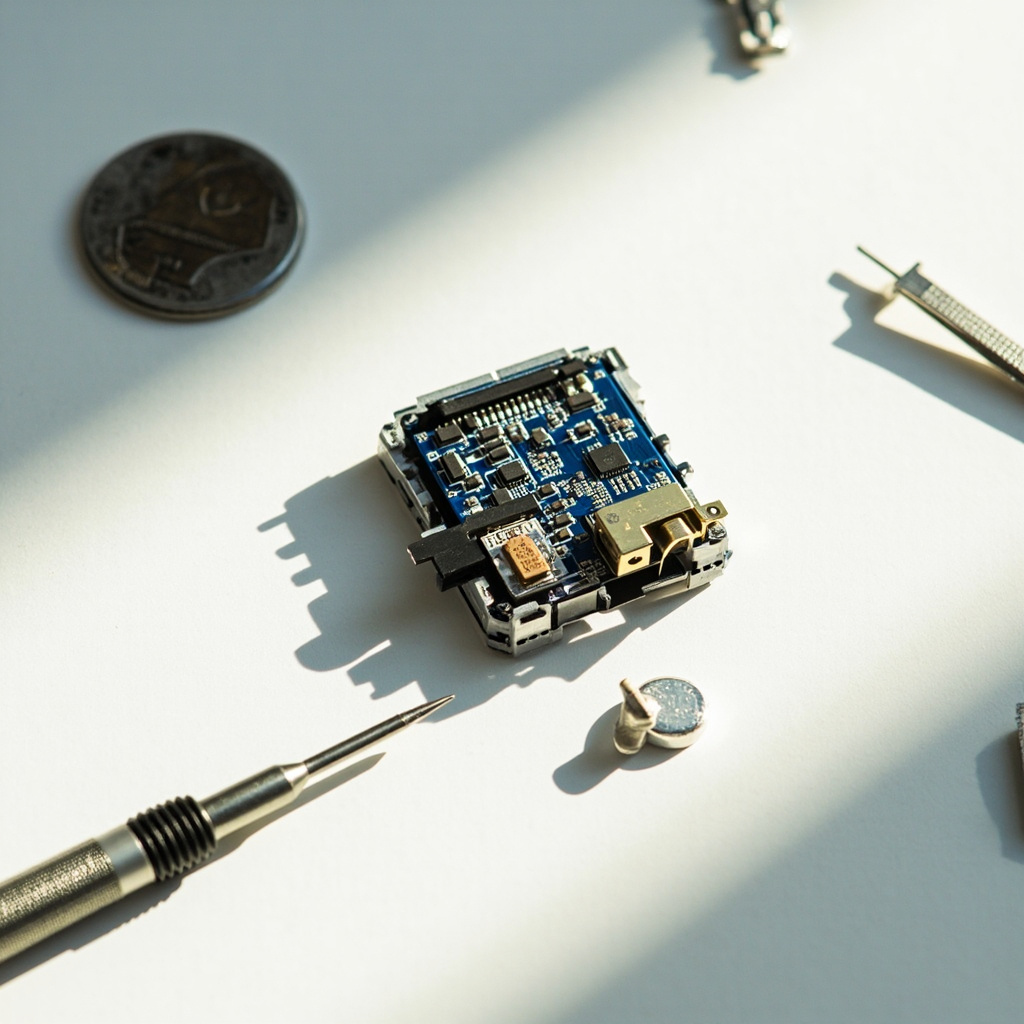
An encoder is a precision electromechanical device widely used in industrial automation, CNC machinery, robotics, and motion control systems to provide feedback on position, speed, and direction. Many modern encoders—especially absolute encoders—rely on internal backup batteries to retain position data when main power is disconnected. When this battery weakens or fails, the encoder loses its memory reference, which can cause machine downtime, calibration errors, and costly production losses. Understanding the proper encoder battery replacement procedure is essential for any technician, maintenance engineer, or machine operator who wants to minimize disruption and keep equipment running smoothly.
This comprehensive guide covers everything you need to know about encoder battery replacement, including identifying warning signs, selecting the correct replacement battery, performing a safe and accurate swap, and following best practices to extend encoder life. Whether you are working with Heidenhain, Fanuc, Siemens, Yaskawa, or other leading encoder brands, the principles outlined below will help you execute a successful battery change.
Why Encoder Batteries Matter
Absolute encoders differ from incremental encoders because they retain positional information even after a power loss. This is possible because an internal lithium battery powers the encoder’s memory chip when external power is removed. The battery typically lasts between 3 to 10 years, depending on the model, operating temperature, and duty cycle. Once the battery voltage drops below a safe threshold, the encoder issues a low-battery alarm, and if ignored, eventually loses its stored position data, requiring a full machine homing and recalibration procedure.
Common Warning Signs of a Failing Encoder Battery
Catching a failing battery early prevents unexpected downtime. Watch for these indicators:
- A low-battery alarm appears on the controller HMI or diagnostic screen.
- The machine unexpectedly requires rehoming after a power cycle.
- Position drift or inconsistent axis positioning after maintenance shutdowns.
- Servo drives flag battery undervoltage or memory backup errors.
- The encoder unit shows visible corrosion, swelling, or leakage around the battery compartment.
Tools and Materials You’ll Need
- Correct replacement battery (verify part number from manufacturer datasheet).
- Insulated screwdrivers (Phillips and flathead, size-matched to encoder housing).
- Anti-static wrist strap and ESD-safe work surface.
- Multimeter for verifying battery voltage prior to installation.
- Clean lint-free cloth and isopropyl alcohol (for cleaning contacts).
- Machine documentation, including wiring diagrams and axis parameters.
- Personal protective equipment (PPE) including safety glasses and gloves.
Common Encoder Battery Types Compared
Choosing the right battery is critical. The table below summarizes the most common chemistries and form factors used in industrial encoders.
| Battery Type | Typical Voltage | Typical Lifespan | Common Use |
|---|---|---|---|
| Lithium Thionyl Chloride (Li-SOCl2) | 3.6 V | 5 – 10 years | Most absolute rotary and linear encoders |
| Lithium Manganese Dioxide (Li-MnO2) | 3.0 V | 3 – 7 years | Compact encoders, low-power applications |
| Alkaline Coin Cell (e.g., LR6, A23) | 1.5 V – 12 V | 1 – 3 years | Legacy encoders, low-cost systems |
| External Battery Pack (multi-cell) | 3.6 V – 7.2 V | 5 – 8 years | Large CNC machines, multi-axis systems |
Step-by-Step Encoder Battery Replacement Procedure
Step 1: Prepare the Machine and Document Settings
Before touching any hardware, back up the controller parameters and record all axis positions, machine zero references, and any custom macro variables. Some encoders retain memory for several minutes while you swap the battery if main power stays on, but having a full parameter backup ensures you can recover if anything goes wrong.
Step 2: Access the Battery Compartment
Locate the encoder’s battery housing. On many encoders, the battery is housed in an external module connected via a small cable, while others embed it inside the encoder body. Remove any covers or shields using the appropriate insulated screwdriver. Take care not to damage any sealing gaskets, as this can compromise the encoder’s IP rating.
Locate the encoder’s battery housing. On many encoders, the battery is housed in an external module connected via a small cable, while others embed it inside the encoder body. Remove any covers or shields using the appropriate insulated screwdriver. Take care not to damage any sealing gaskets, as this can compromise the encoder’s IP rating.
Step 3: Remove the Old Battery
Disconnect the old battery by gently lifting the connector or unsnapping the holder. Avoid pulling on the wires—always grip the connector itself. Inspect the contacts for any signs of corrosion, oxidation, or electrolyte residue. If contamination is present, clean the contacts with a lint-free cloth lightly moistened with isopropyl alcohol and allow them to dry completely before installing the new battery.
Step 4: Verify the New Battery
Using a multimeter, measure the voltage of the new battery. A fresh 3.6 V lithium cell should read between 3.55 V and 3.70 V. Anything significantly lower may indicate an old stock battery or one that has been improperly stored, and should not be installed.
Step 5: Install the New Battery
Connect the new battery, observing the correct polarity. Secure the connector and ensure it clicks or locks into place. Reinstall any holders, clips, or covers removed earlier. Apply new gaskets or thread sealant if the original components show signs of wear.
Step 6: Power Up and Verify
Restore main power to the machine and check the controller for any remaining battery alarms. Verify that the encoder retains its position reference through a controlled power cycle. Many controllers will automatically clear the alarm once a healthy battery is detected, but some may require a manual alarm reset through the HMI or diagnostic menu.
Best Practices for Long-Term Encoder Battery Health
- Schedule preventive replacement every 3–5 years, even if no alarm is present, to avoid unexpected failures.
- Keep spare batteries on hand, ideally stored in a cool, dry place at room temperature to maximize shelf life.
- Maintain ambient operating temperatures within the encoder’s specified range; extreme heat dramatically shortens battery life.
- Use only OEM-approved or equivalent batteries. Substituting incorrect chemistry or voltage can damage the encoder’s memory chip.
- Log every battery replacement in the machine’s maintenance records, including date, part number, and technician initials.
Common Mistakes to Avoid
Even experienced technicians can make errors during encoder battery replacement. Avoid these pitfalls:
- Replacing the battery with main power off without verifying that the encoder has sufficient internal capacitance to retain memory during the swap.
- Using a battery with the wrong voltage rating, which can corrupt memory chips.
- Failing to reset or rehome the machine after installation, leading to false position readings.
- Touching battery contacts with bare hands—oils from skin can promote corrosion over time.
- Disposing of lithium batteries in regular trash, which is both illegal in many regions